
Couple of methods to use image color transformations in Ren’Py.
Color tint
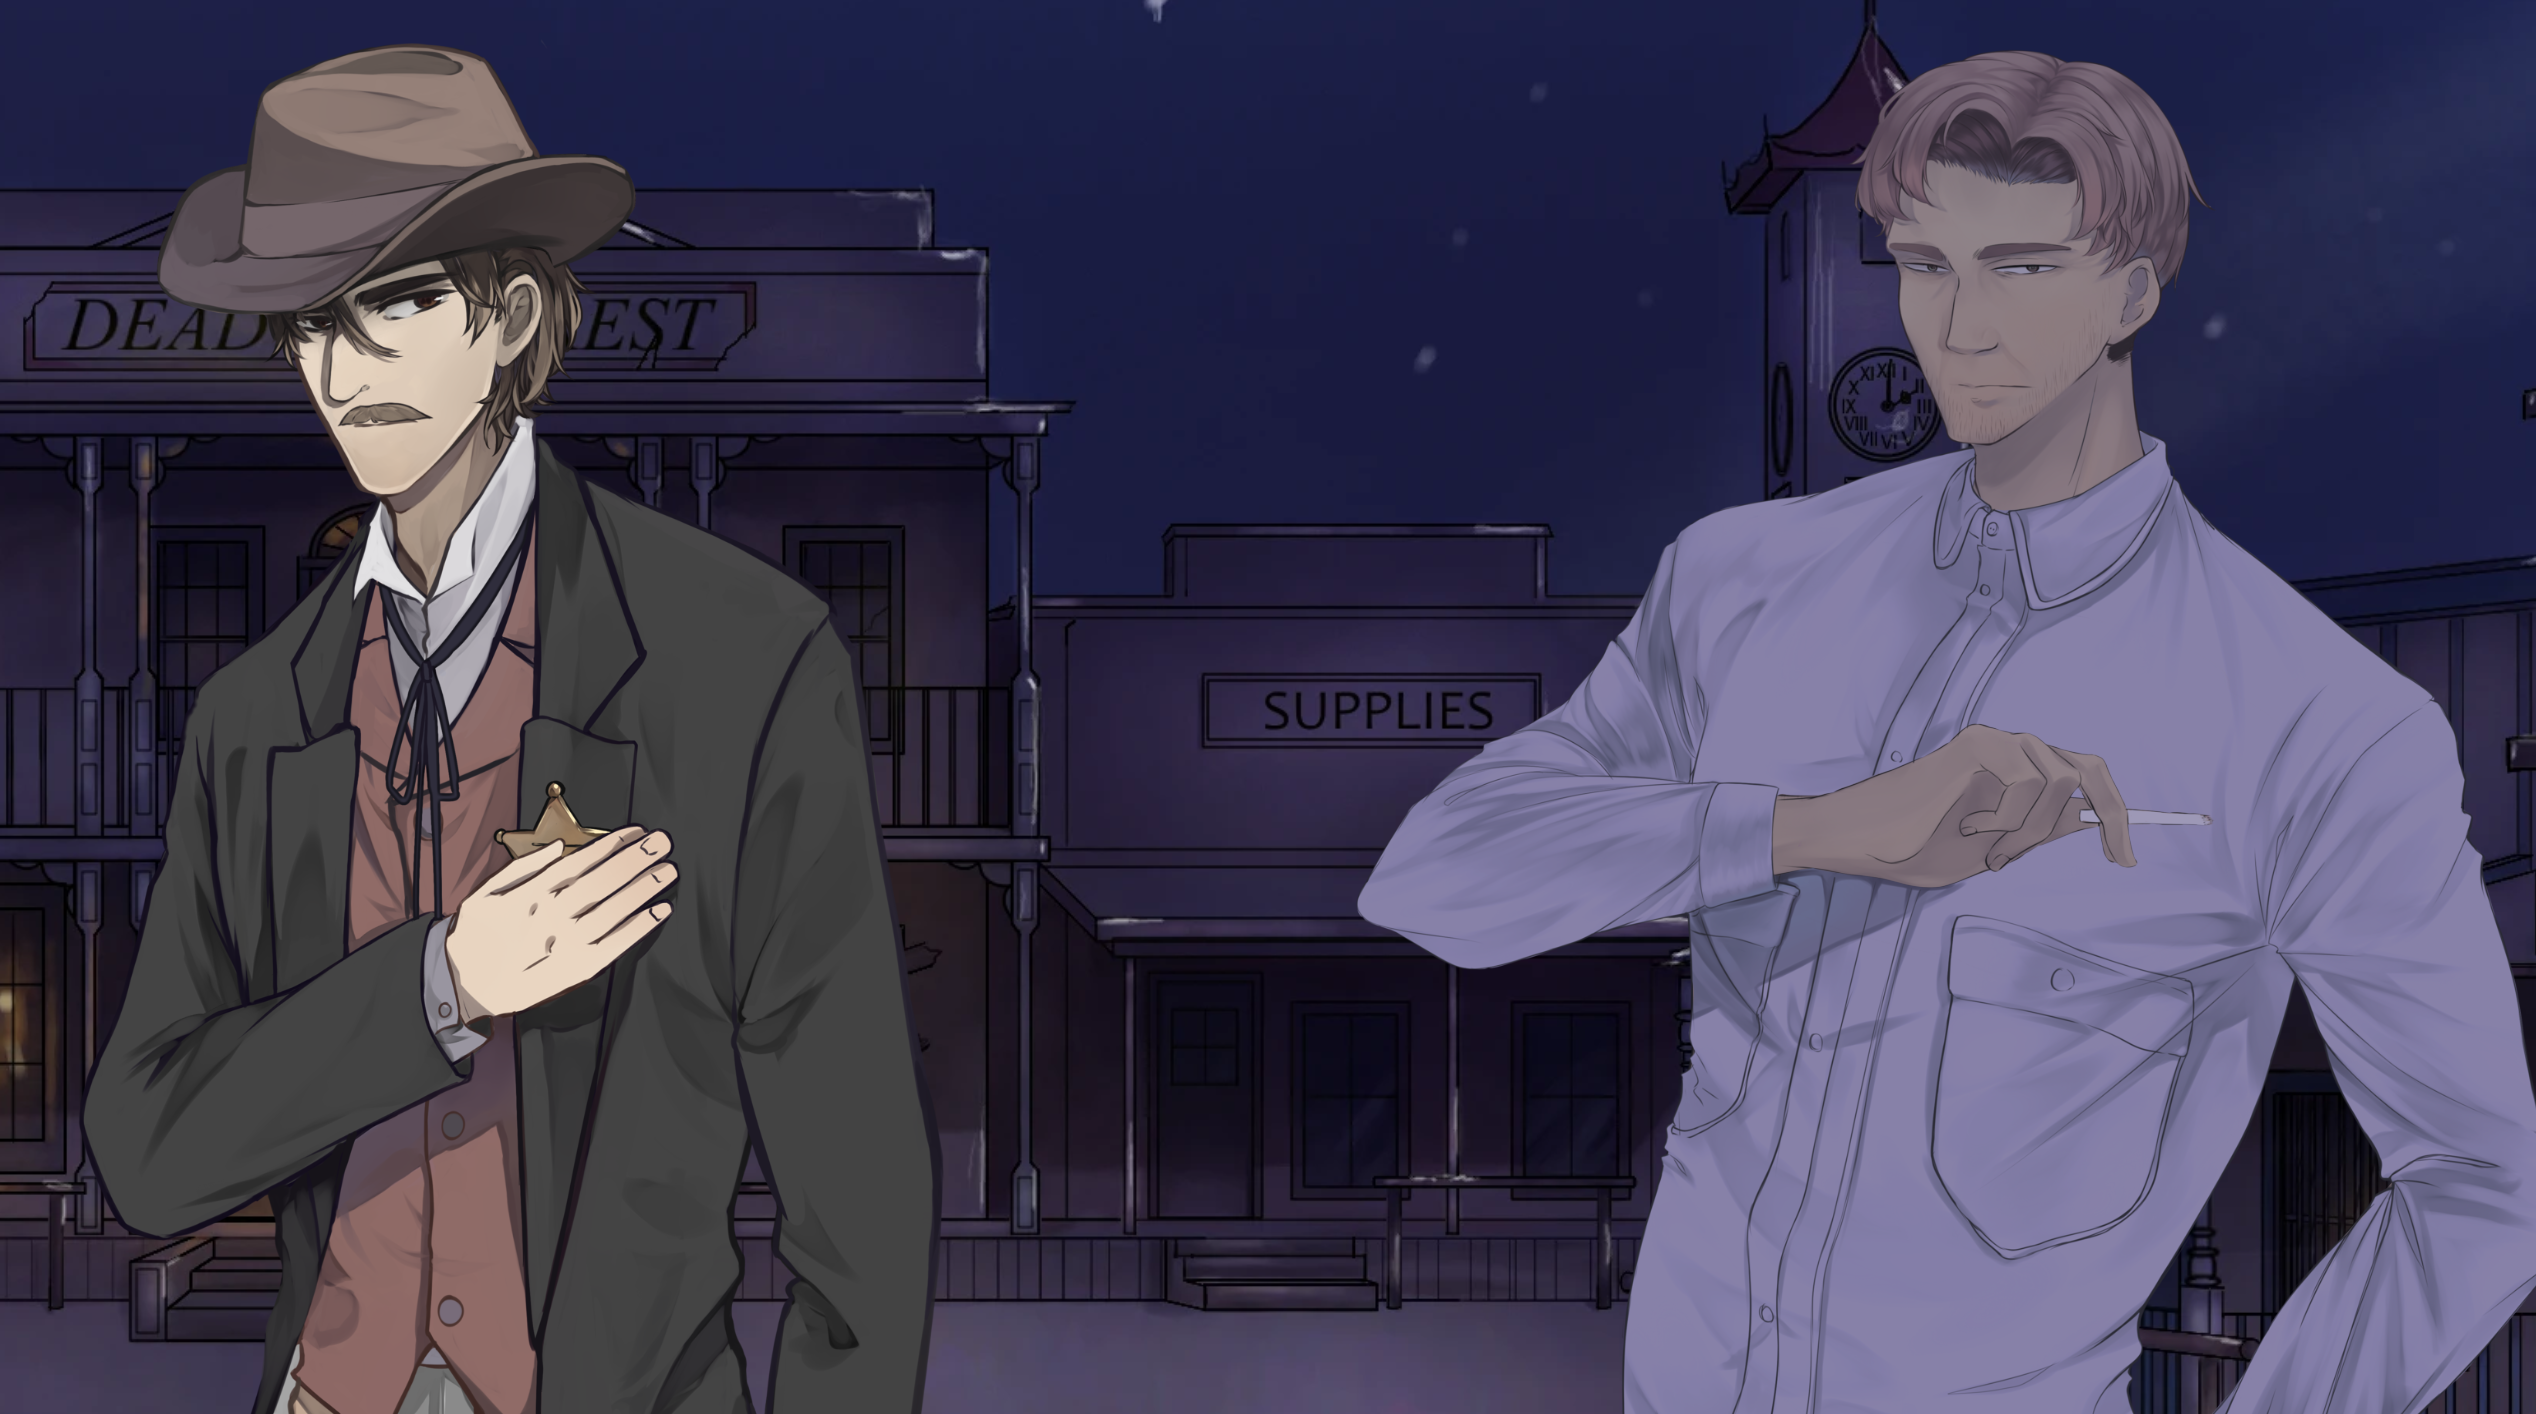
We only commission a single lighting version of our 2D sprites, which generally works well. It does, however, look ever so slightly out of place when the environment lighting changes dramatically, such as when the characters are outside in the dark. Ren’Py comes with a few built-in methods to transform an image by recalculating the values for every pixel in an image.
The first time we tried tinting an image, we thought we needed to apply the color transformation to every individual image in our layeredimage.
layeredimage jed_base tint:
    always im.Sepia("images/sprites/jed/resize/base.png")

    if jed_clothes:
        im.Sepia("images/sprites/jed/resize/clothes.png")
    if jed_apron:
        im.Sepia("images/sprites/jed/resize/apron.png")
    group mouth prefix "m":
        # at Transform(xoffset=0,yoffset=0,zoom=.5)
        attribute 1 im.Sepia("images/sprites/jed/mouth_happy.png")
        attribute 2 im.Sepia("images/sprites/jed/mouth_laugh.png")
        attribute 3 im.Sepia("images/sprites/jed/mouth_love.png")

label start:
    show jed_base tint m_1 t_2
Now imagine doing this for every possible image and character, just so that there is a tinted version to use in game…
Another way is to define an ATL transform.
transform night_tint:
    matrixcolor TintMatrix("#9d9ec4")

image jed = LayeredImageProxy("jed_base")
image jed night = LayeredImageProxy("jed",night_tint)

label start:
    show jed night
    ""
    hide jed night
    ""
    show jed at night_tint
You can then define images with the transform applied, or call an arbitrary image and apply the transform then, using the at syntax.
Questions or Comments?
Feel free to send in any AG-related questions! Our Ask Box is always open.
Thanks so much for all of your amazing support, and stay safe out there!