A surprisingly difficult/bug-filled update transition from old Ren’Py to the latest version. Thumbnail is a salad that Gamma made: red romaine lettuce, multicolor carrots, marinated tofu+onion, anchovies, and a miso mustard vinaigrette.
Google Play
This past August 1, 2019 was the deadline for developers to update their apps to contain a 64-bit version of the app. If they failed to do so by the deadline, then their app would no longer be available to Android phones that support 64-bit.
We were able to update all but Red Embrace by that deadline. Red Embrace had some extra difficulties that made us miss it. The updated version will hopefully be out soon (currently under testing), so if you were wondering why the game suddenly disappeared from your Google Play store, that would be the reason. Rest assured, the game will be back on the store (for all affected users) soon.
Red Embrace bug
The other games were updated fairly painlessly because all the changes required did not introduce anything too difficult to patch up. Red Embrace, however, required us to update how side portrait sprites were shown. This was an update we wanted to put off, as it’s more of an (optional) optimization update. But…
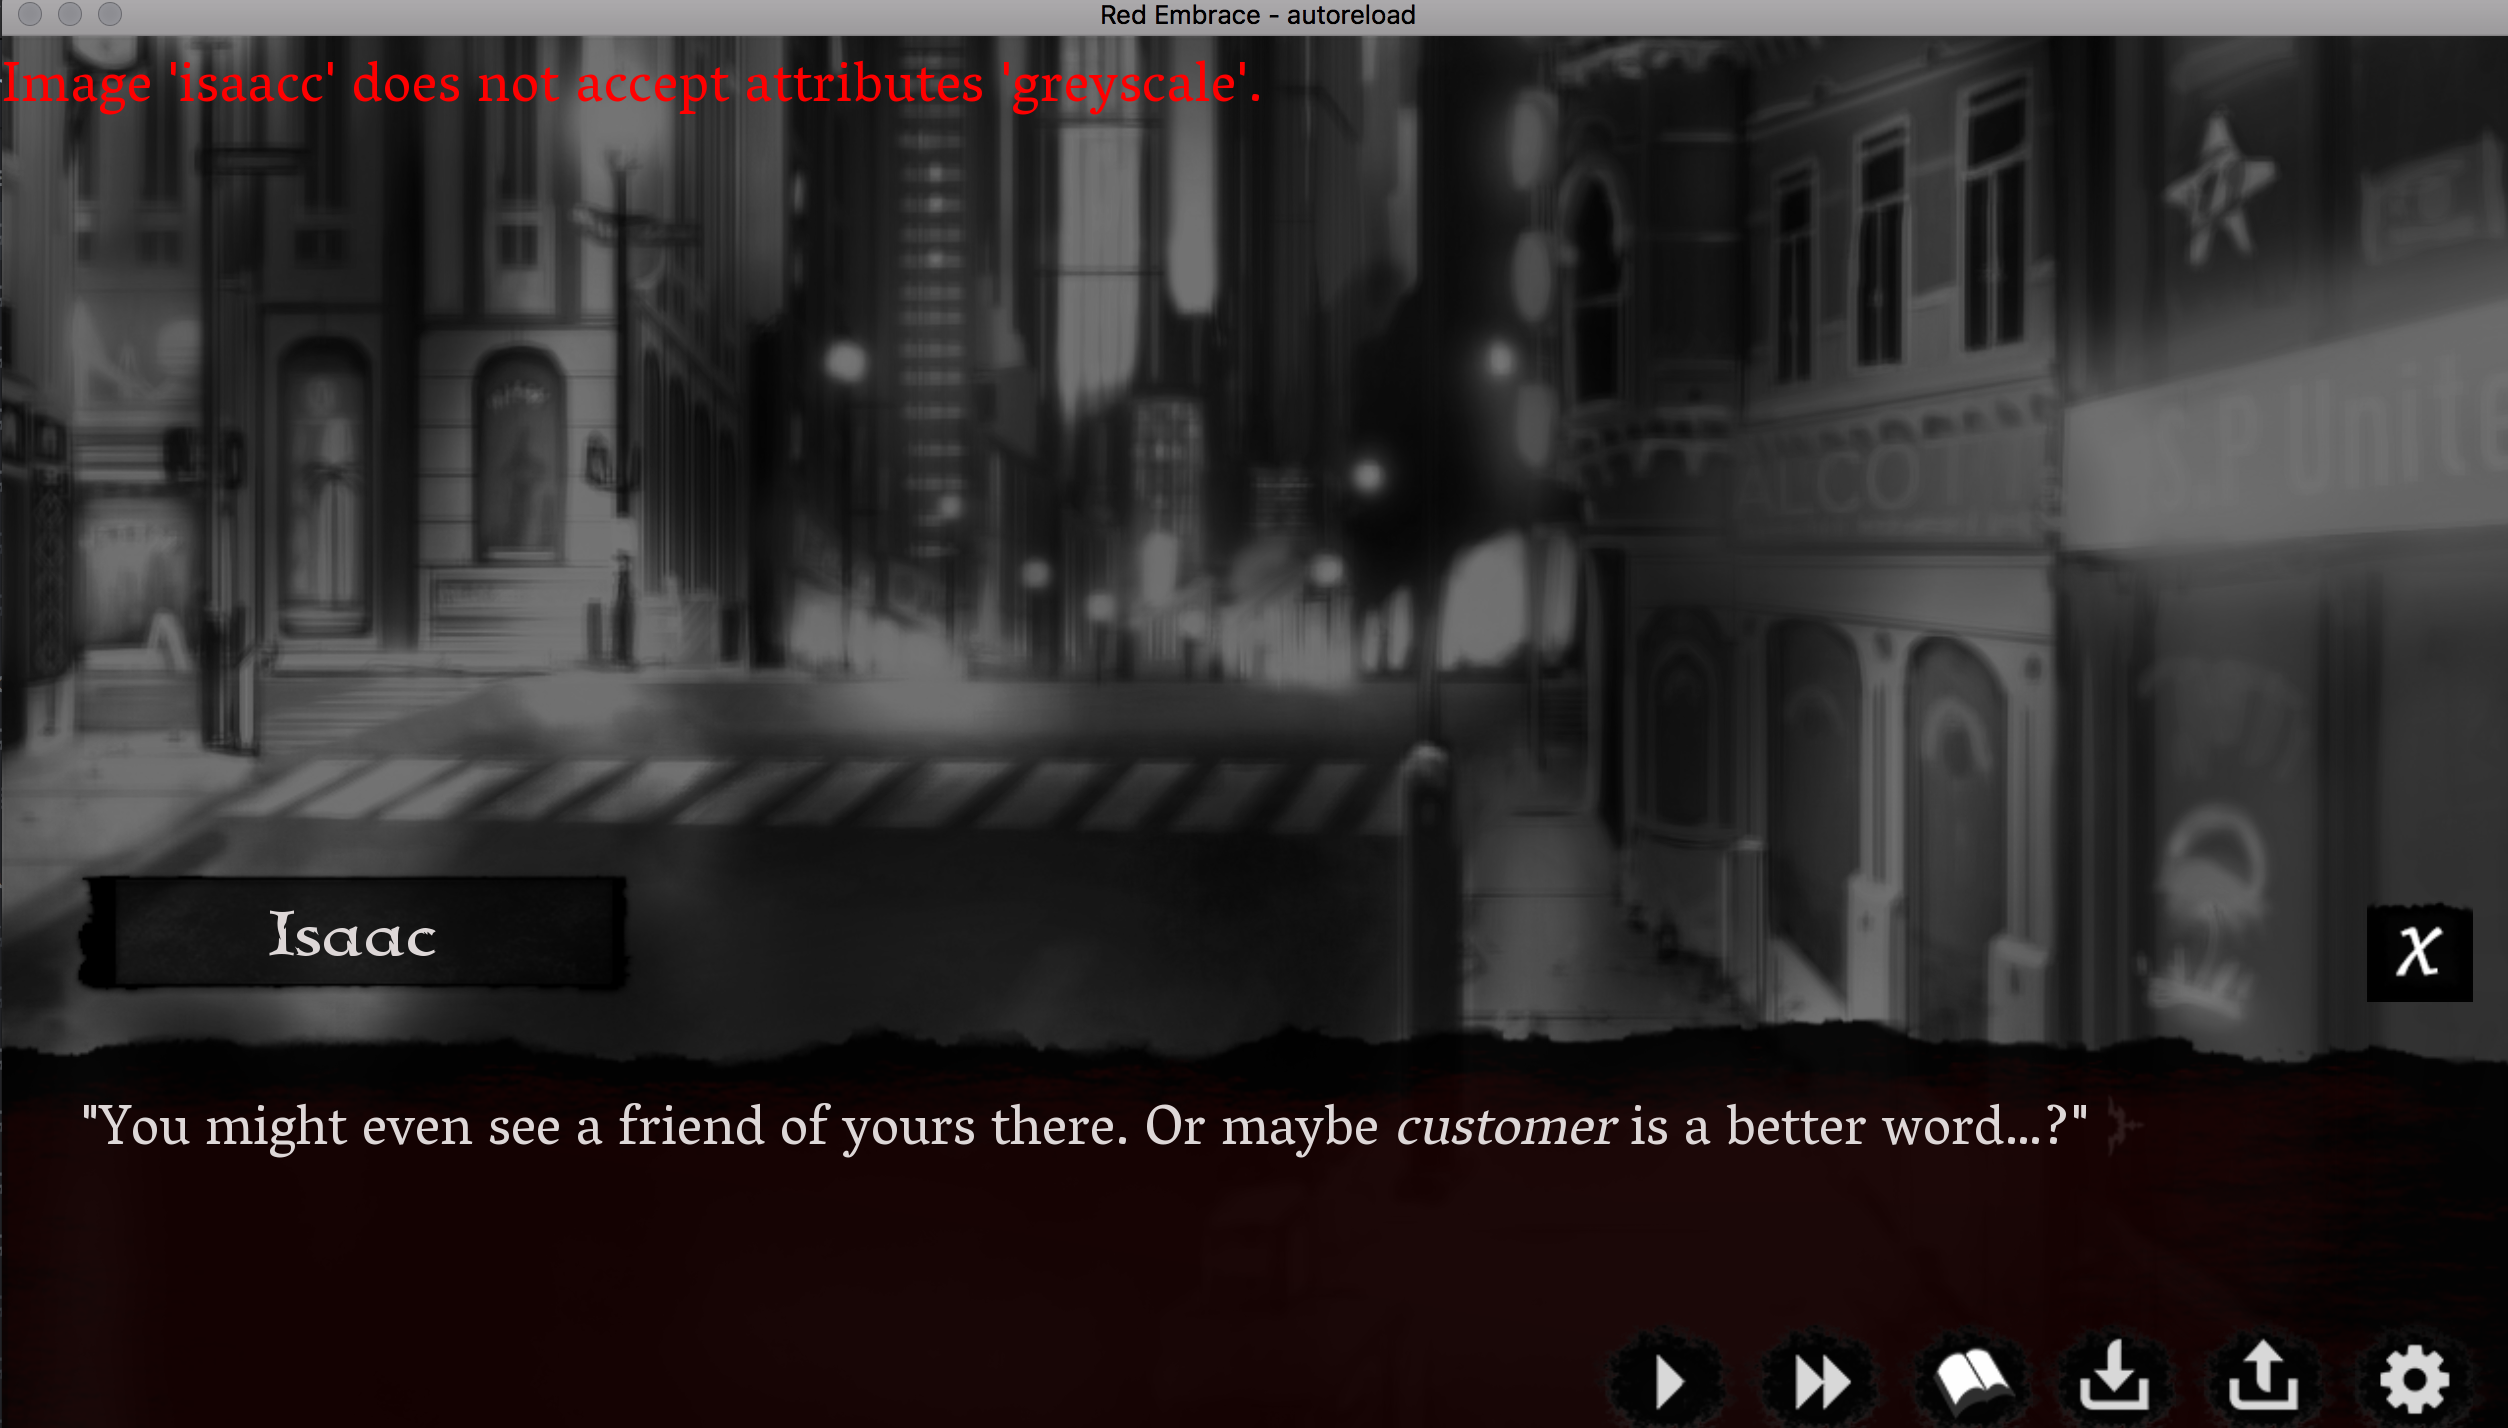
Where is Isaac?
Sprites update
Ren’Py 7.x introduced a new way of defining images: LayeredImages. It’s supposed to both make defining complicated images easier and improve performance. What do we mean by a complicated image?
Imagine a sprite in a visual novel with lots of facial expressions. To switch between facial expressions, you could have lots of sprites with a single expression, or you could have a single body with lots of expressions that you can switch between. Another example would be having an accessory, such as Markus’ sunglasses, where he doesn’t wear them all the time.
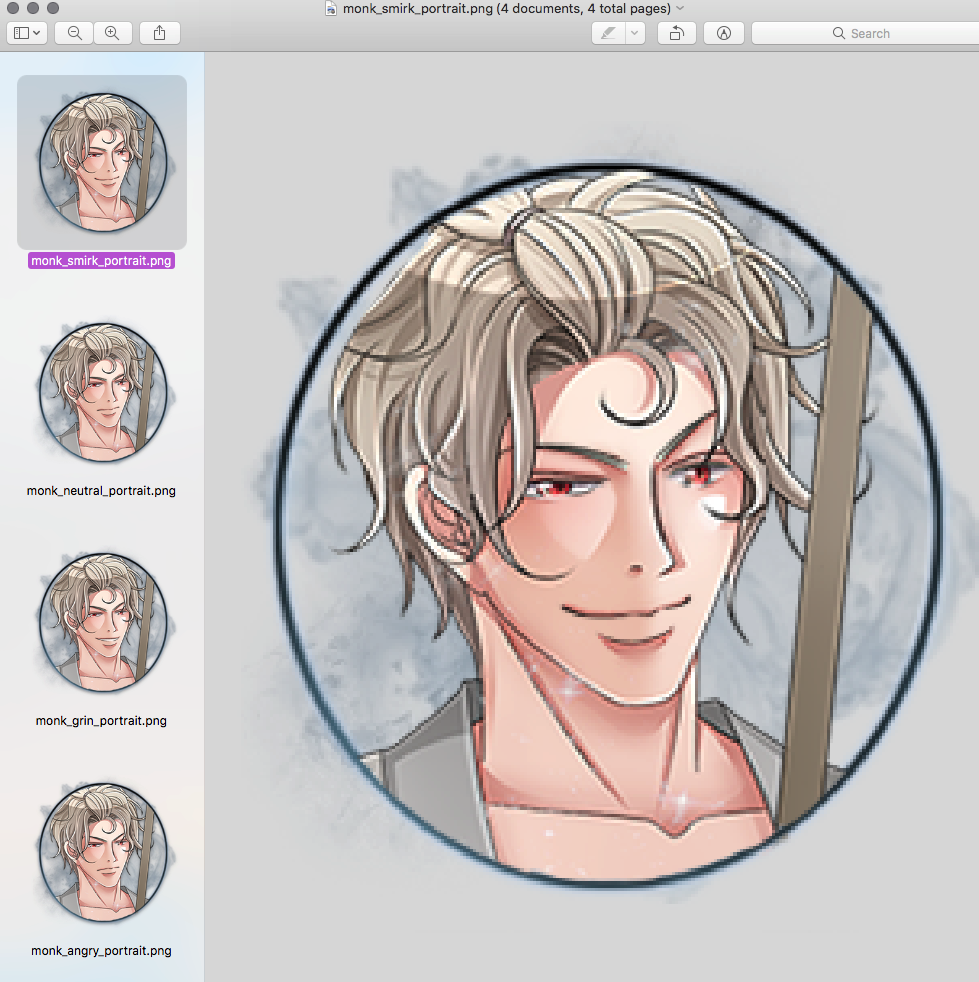
Lots of individual images for a single expression change
The stuff of nightmares, but optimized
To fix the missing Isaac bug, we had to redefine our images using LayeredImage. It wasn’t too difficult a process, but it’s slightly incompatible with the way we do expression changes. We have a nice little function for changing expressions. If Isaac has (frown eyebrows, side-looking eyes, neutral mouth) and we want to change it, we can simply type epc('isaac', 'high', 'neutral', 'happy'), and he will now automatically change to an expression with (high eyebrows, neutral eyes, happy mouth).
Our normal code looks like:
$ epc("luka","angry","side","talk")
lp '"…You?"'
$ epc("luka","angry","side","sad")
lp '"What are {i}you{/i} following me for?"'
while the default method of writing (based on the Ren’Py official tutorial) might look like:
show luka brow_angry eyes_side mouth_talk
lp '"…You?"'
show luka brow_angry eyes_side mouth_sad
lp '"What are {i}you{/i} following me for?"'
or to be less verbose, since two of the attributes (eyebrows and eyes) are the same:
show luka brow_angry eyes_side mouth_talk
lp '"…You?"'
show luka mouth_sad
lp '"What are {i}you{/i} following me for?"'
(or you can also do it in-line)
show luka brow_angry eyes_side mouth_talk
lp '"…You?"'
lp mouth_sad '"What are {i}you{/i} following me for?"'
There are several ways we can update our code to work with the new LayeredImage definition, but we aren’t yet sure which one has the best performance. So we opted for sticking as close to the default tutorial version as possible, at least for the Red Embrace update. When we optimize/update RE:H, we’ll be checking to see what method works best.
Original code looks like:
    image dom:
        ypos 740
        ConditionSwitch("greyscale == False",
            Transform(LiveComposite(
                (720, 1280),
                (0, 0), "images/sprites/dominic/dominic.webp",
                (0, 0), TransitionConditionSwitch(Dissolve(0.2, alpha=True),
                    "dom_eyes == 'neutral' ", "images/sprites/dominic/eyes_neutral.webp",
                    "dom_eyes == 'closed' ", "images/sprites/dominic/eyes_closed.webp",
                   ... )
                (0, 0), TransitionConditionSwitch(Dissolve(0.2, alpha=True),
                    "dom_brow == 'neutral' ", "images/sprites/dominic/brow_neutral.webp",
                    "dom_brow == 'angry' ", "images/sprites/dominic/brow_angry.webp",
                    ... ),
                (0, 0), TransitionConditionSwitch(Dissolve(0.2, alpha=True),
                    "dom_mouth == 'neutral' ", "images/sprites/dominic/mouth_neutral.webp",
                    "dom_mouth == 'smile' ", "images/sprites/dominic/mouth_smile.webp",
                    ...
                    ), size=(464,824)),
                    "True",
            Transform(LiveComposite(
                (720, 1280),
                (0, 0), im.Grayscale("images/sprites/dominic/dominic.webp"),
                (0, 0), TransitionConditionSwitch(Dissolve(0.2, alpha=True),
                    "dom_eyes == 'neutral' ", im.Grayscale("images/sprites/dominic/eyes_neutral.webp"),
                    "dom_eyes == 'closed' ", im.Grayscale("images/sprites/dominic/eyes_closed.webp"),
                    ...),
                (0, 0), TransitionConditionSwitch(Dissolve(0.2, alpha=True),
                    "dom_brow == 'neutral' ", im.Grayscale("images/sprites/dominic/brow_neutral.webp"),
                    "dom_brow == 'angry' ", im.Grayscale("images/sprites/dominic/brow_angry.webp"),
                   ...),
                (0, 0), TransitionConditionSwitch(Dissolve(0.2, alpha=True),
                    "dom_mouth == 'neutral' ", im.Grayscale("images/sprites/dominic/mouth_neutral.webp"),
                    "dom_mouth == 'smile' ", im.Grayscale("images/sprites/dominic/mouth_smile.webp"),
                   ...
                ), size=(464,824)))
Some ideas for various ways to update our sprite definitions are…
What we ended up using.
    layeredimage domc:
        at Transform(ypos=1150, size=(720, 1280))

        group base prefix "base":
            attribute plain "images/sprites/dominic/dominic.webp" default
            attribute grey im.Grayscale("images/sprites/dominic/dominic.webp")

        group eyes prefix "eyes":
            attribute neutral default "images/sprites/dominic/eyes_neutral.webp"
            attribute closed "images/sprites/dominic/eyes_closed.webp"
            ...

            attribute neutral_grey im.Grayscale("images/sprites/dominic/eyes_neutral.webp")
            attribute closed_grey im.Grayscale("images/sprites/dominic/eyes_closed.webp")
            ...

        group brow prefix "brow":
            attribute neutral default "images/sprites/dominic/brow_neutral.webp"
            attribute angry "images/sprites/dominic/brow_angry.webp"
            ...

            attribute neutral_grey im.Grayscale("images/sprites/dominic/brow_neutral.webp")
            attribute angry_grey im.Grayscale("images/sprites/dominic/brow_angry.webp")
            ...

        group mouth prefix "mouth":
            attribute neutral default:
                "images/sprites/dominic/mouth_neutral.webp"
            attribute smile:
                "images/sprites/dominic/mouth_smile.webp"
            ...

            attribute neutral_grey:
                im.Grayscale("images/sprites/dominic/mouth_neutral.webp")
            attribute smile_grey:
                im.Grayscale("images/sprites/dominic/mouth_smile.webp")
            ...
Another option (text interpolation):
    layeredimage domc:
        at Transform(ypos=1150, size=(720, 1280))

        # base image
        if greyscale:
            always "images/sprites/dominic/dominic.webp"
        else:
            always im.Grayscale("images/sprites/dominic/dominic.webp")

        # dom eyes
        if greyscale:
            always "images/sprites/dominic/eyes_[dom_eyes].webp"
        else:
            always im.Grayscale("images/sprites/dominic/eyes_[dom_eyes].webp")

        # etc.
Or…
layeredimage domc:
    at Transform(ypos=1150, size=(720, 1280))

    # base image
    if greyscale:
        always "images/sprites/dominic/dominic.webp"
    else:
        always im.Grayscale("images/sprites/dominic/dominic.webp")

    if dom_eyes == "neutral":
        always "images/sprites/dominic/eyes_neutral.webp"
    elif dom_eyes == "sad":
        always "images/sprites/dominic/eyes_sad.webp"

    # etc
Does text or using all the conditionals (if-then/else) negate the performance boost provided with using LayeredImages? We’ll have to analyze this later to find out.
Our updated expression changing function:
def epc (char, brow, eyes, mouth, extra_args="", trans=Dissolve(0.2, alpha=True), porting=False, zorder=0):
        # set porting=True if we are running this code with a new LayeredImages defined sprite
        global greyscale
        global update_side_exp
        global current_who

        # we only want to run this block on sprites that we updated to the LayeredImages type
        if porting:
            if not greyscale:
                renpy.show(char + " base_plain" + " brow_" + brow + " eyes_" + eyes + " mouth_" + mouth + " " + extra_args, zorder=zorder)
            else:
                renpy.show(char + " base_grey" + " brow_" + brow+"_grey" + " eyes_" + eyes+"_grey" + " mouth_" + mouth+"_grey" + " " + extra_args, zorder=zorder)
            renpy.with_statement(trans=trans) # the transition to show the new expression with, run it after we show the sprite. Does not work if you try to run it beforehand

        # old code that updates global expression variable, still in use for old-defined sprites
        if char == "isaac":
            globals()["isaac_brow"] = brow
            globals()["isaac_eyes"]  = eyes
            globals()["isaac_mouth"]  =  mouth
            ...
Ok, so now that we have the full sprite defined, what about the side portrait image? In the past, we would define another giant block like so, with a different Transform/cropping/location.
    image side dom_p:
        ypos 1280 xpos 0
        ConditionSwitch("greyscale == False",
            Transform(LiveComposite(
Now we can use:
image side dom_p = LayeredImageProxy("domc", Transform(xoffset=-200,yoffset=700,size=(661,1171), xzoom=-1))Great! It’s a lot shorter! Except…how do we change the character’s expressions now? The traditional way would be:
lp '"…You?"' # default expression
lp mouth_sad '"What are {i}you{/i} following me for?"' # default eyes and eyebrows but sad mouth
How do you access those attributes…?
Well, turns out there’s a variable that stores those side image attributes: store._side_image_attributes. (Er, or something similar. That code’s been deleted in the cleaned up version of our file, so the exact name might be incorrect.) However, we can’t just store an update of the attributes to that variable because it will result in some flickering back to default expression.
$ epc("luka","angry","side","talk") # set store._side_image_attributes = luka angry side talk; See side portrait Luka with these attributes
lp '"…You?"' # store.side_image_attributes == None, now Luka is back to default expression
$ epc("luka","angry","side","sad")
lp '"What are {i}you{/i} following me for?"'
[…]
After many different attempts at fixing, we decided to stop using the built-in side image and instead show the side image on another layer. Previously, we would define a portrait character with:
define dp = Character("Dominic", ctc="ctc_pic", image="dom_p", window_left_padding=300, window_right_padding=100, color="#ddd7d7")And now we’re doing
define dp = Character("Dominic", ctc="ctc_pic", image="", window_left_padding=300, window_right_padding=100, color="#ddd7d7", callback=_dom_callback)Notice that in the second version, there’s no attached image, and there’s a new character_callback. When we had image='dom_p', the side portrait image would automatically show up whenever Dom spoke. Now nothing will show up aside from a big blank space. But wait, we have this character callback function. This function is run whenever Dom is speaking, and we can have it show the portrait when he starts speaking.
    def _dom_callback(event, interact=True, **kwargs):
        if not interact:
            return
        if event == "begin":
            renpy.show("side dom_p" + " base_plain" + " brow_" + globals()["dom_brow"] + " eyes_" + globals()["dom_eyes"] + " mouth_" + globals()["dom_mouth"] + " ", zorder=1, layer="side", at_list=[Transform(xalign=0,yalign=1.0)])
You’ll notice that it looks basically exactly the same as the update to the epc() function. (There may or may not be a good reason for not using a callback for the update to the normal sprite.)
Hooray, side portraits work as expected! Mostly.
Unfortunately, since the side portrait is on its own layer and no longer attached to the speaking character, that means the portrait will remain on the screen unless explicitly hidden.
def _clear_side_images(event, interact=True, **kwargs):
        if not interact:
            return
        if renpy.get_showing_tags("side"):
            renpy.hide("side",layer="side")
A new character callback appears! It’s been attached to all characters that can speak and that don’t have their own side portrait, such as the narrator or a large regular sprite.
This fixes many problems, but there’s still an issue where a character with a side portrait is speaking, and then we change the scene/background. The side portrait will remain on the screen.
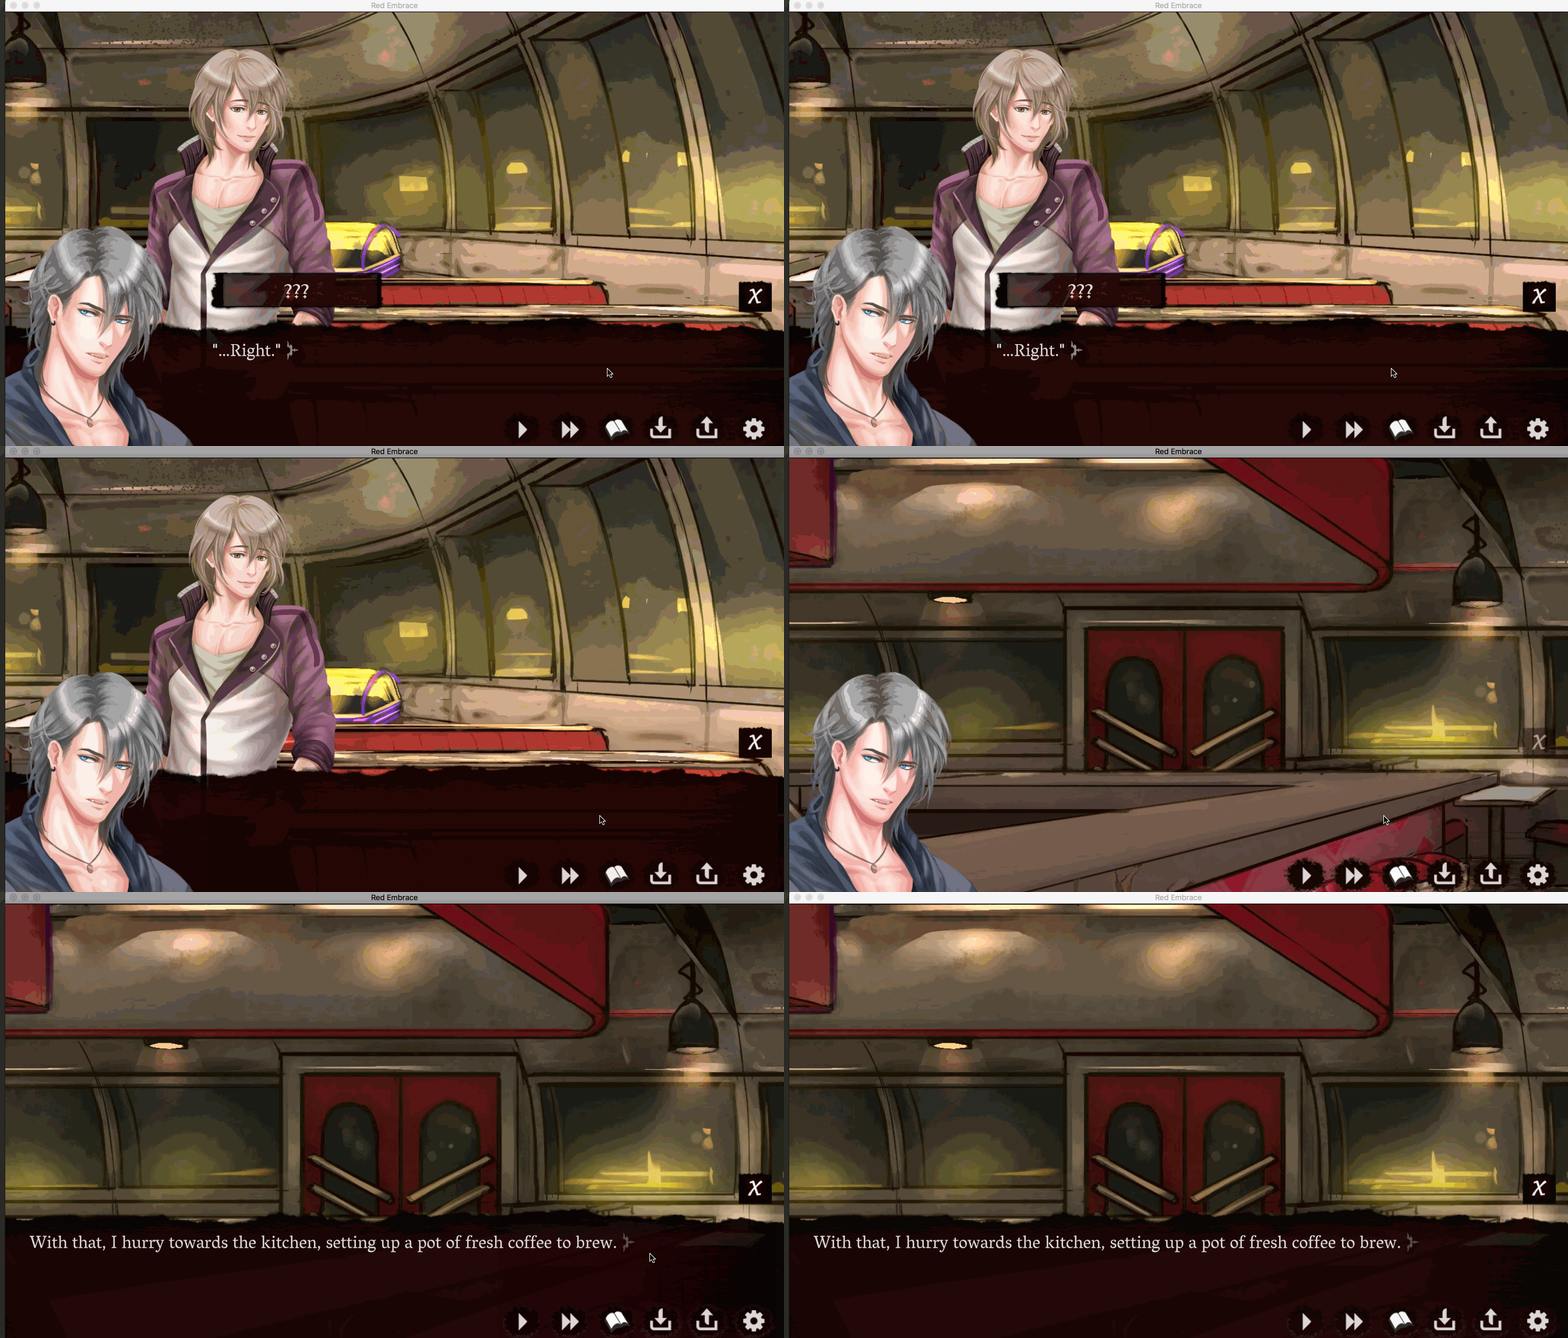
Hi.
Dom does disappear as soon as the narrator begins speaking again, but he really shouldn’t be hanging around during the scene change.
Introducing: manual hiding function.
def csi():
    if renpy.get_showing_tags("side"):
        renpy.exports.scene_lists().clear("side")
It’s the same code that is in the _clear_side_images() function, just now we can manually hide the images when needed. Usage below…
    udp '"…Right."'
    $ csi() # manually hide the side portrait
    $ renpy.pause(0.3, hard=False)
    scene bg diner with Dissolve (0.5):
        size (1280,720) crop (776,400,1280,720)
With all the callbacks, we can automatically manage side portraits fairly well. It’s just a couple of pesky instances where the side portraits do not behave as intended. Since there are these pesky instances, the game has to go through some thorough playtesting. We are lucky to have an amazing community that is excited to try out this new build and help find such instances.
Many thanks to our Discord volunteers for helping out!
This update is primarily targeted towards Google Play/Android, so we may not update the PC builds. If we do, though, we’d love to hear whether you notice anything different, such as performance changes or window/sprite management that’s different from the earlier build.
